Friday, September 28, 2012

A Two-fer!

How nice - a bonus card made from offcuts of the first. I made a birthday card for my DH recently:


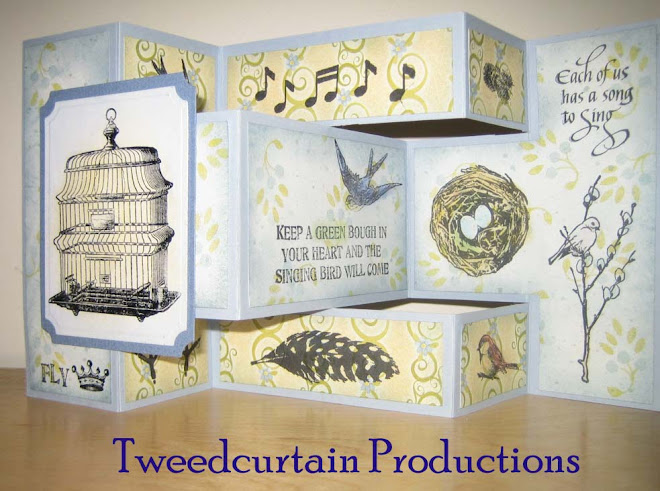
I am the first to admit there is a *LOT* going on with this card. I was trying too many things at once (spatter, sanding, fancy aperture cuts, pyramid die cutting...) and it lost its punch in the process. However, I will try again and choose one fancy technique per card and learn from this!

The die cuts that were created when I was cutting the folded apertures out of the card above became another birthday card for my DH's uncle:

The die I used is the Botanical Medallion Label from JustRite Stamps. I used a matching stamp to decorate it. Then I embellished with teal Swarovski heat-set crystals. This second card came together much quicker than the first - thanks to leftovers!

Trying to capture the sparkle of the crystal...

Thursday, September 27, 2012

The Best Thing


Needed a wedding card and I saw this sentiment stamp in Michael's and thought it was great.
I stamped it in Delicata Golden Glitz ink and matted it with gold and white papers. I stamped Tim Holtz's flourish stamps for the background. This is a 4 X 9.25 inch card.

Here you can see the shine of the Delicata.  A nice effect without embossing. 
I decided to do a second version on gold cardstock and used white Versamagic chalk ink for the background flourish and white heat embossed the sentiment, matted in white. So now I have one wedding card in my stash!

Sunday, September 23, 2012

Butterfly Card - Up Close

All stamps: Waltzingmouse Stamps

Here is a closer look at the card I made recently for my mom's birthday. The base is white cardstock with rounded corners, I think 5 inches square. I created a clear jacket out of thick acetate and stamped an all over grid pattern across the front in white permanent ink. I stamped and embossed a large white doily onto aqua linen textured vellum, then die cut using a Big Scalloped Nestabilities die. I placed the doily on the white cardstock under the clear cover.   The big sentiment banner at the bottom is outlined in the vellum, too. Glitter and acetate are difficult to photograph!
In keeping with the clear theme, I stamped the center butterfly once on acetate and once on the same aqua vellum. I cut them out with scissors, then attached just the bodies together.
I curled the wings slightly with heat, applied glue and sprinkled on glitter. Once dry, I mounted to center of card.
The lower right corner butterfly is a single version of the center focal point, but I folded her in half so she appears to be flying.

The upper left butterfly is solid glitter on a die cut acetate butterfly, again folded in half for a side-profile view.  Thanks for visiting today!

Thursday, September 20, 2012

WMS Challenge #115


I'm dreaming of an orange Christmas... it's the 115th Waltzingmouse Sketch Challenge and I have used the wonderful sketch provided to create a sunny Christmas card. Here's the sketch:

And here's the card I made, using three different stamp sets from Ireland (Around Christmastime, 2011 Holiday Ornaments, Nordic Winter)

This also satisfies the WMS Christmas Card Challenge for the month of July, in which we were to use some sort of shade of orange. I used Versamagic chalk-finish Mango Madness to stamp the ornaments and sentiment. I topped off the snowflake with an orange Swarovski heat-set crystal. Thanks for visiting today!


Stationery Box

One of the notelets with matching envelope.
I made a Stationery Box for my Mom for her birthday. I followed the excellent instructions found at Splitcoaststampers.
Here is the box with the monogrammed lid on. The 2 inch tall "m" is a die cut from the Blossom Quickutz alphabet. The lid holds the side walls up. I made it out of very sturdy scrapbook paper. It is the thickest I have seen and I bought it at my local stamp store. I also made a butterfly birthday card (more about that in a separate post).

Box opened.
There is space for a notebook (I customized / re-purposed one I had lying about) and a pocket for stamps.  The tutorial places the pocket upside down, but the way I have it, when the box is closed, the stamps stay put. Our Canadian stamps take up too much room, so there wasn't space for a pen, as well. I figure my Mom has plenty of pens, though.
Tags and notelets. Most stamps used are from Waltzingmouse Stamps.
Inside the box I managed to put five tags, three notelet cards with matching envelopes (made with a BigZ die), and five regular A2 sized cards with matching envelopes.
Five cards for a variety of occasions.
So Sweet of You (Stampin' Up!) with a Cuttlebug embossed border. 

Cuttlebug embossing folder. The sentiment was diecut out of cardstock that I covered front and back with double-stick tape.  I coated it in Martha Stewart glitter.

The Stamp Camp USA tea set goes well with the doily and the Waltzingmouse Stamps sentiment.

The Our Daily Bread verse is framed by a Spellbinders label and I cut apart two die cuts of the Spellbinders Decorative Frame to create a bit of interest on the outer border.

A very CAS card incorporating the same scrapbook paper and stamps and punch from Stampin' Up!
The tutorial and the accompanying video are well done and I am glad I tackled what looked like a daunting project. It went together quite quickly. There is a Stationery Box gallery on Splitcoaststampers showing a variety of these types of boxes. I encourage you to try it if you have not yet!

Tuesday, September 18, 2012

Waltzingmouse Blog Party

Quick post to meet the deadline for the blog party, the theme being I'm Falling For You, and share a little smile! Stop over at the WMS blog for all the eye candy.

Inspiration for this came from a discussion in the WMS forum recently about how we'd like Claire to provide more sentiments to go with the Frame It set. I was looking at my Sweethearts set, and that Memory Box Nutty Acorn die I just bought and voila! I need to put a mushy sentiment inside like "That's why I love you!"

I cut the die out of lightweight card stock covered with double stick tape, then applied some glitter.  I am sharing these photos taken on my iPad so they are no doubt dreadful, but cannot be helped!


Monday, September 3, 2012

Happy Birthday, "Auntie Mame!"

Stamp credit: Paperbag Studios
Don't you agree? 

This is a card I created for my daughter's extraordinary Great Aunt Dee. That's her in the hat a few years ago with my mom, her big sis, next to her.  I placed a photocopy of the photo under vellum that is scattered with heart flowers. The Emerson quote (The invariable mark of wisdom is to see the miraculous in the common.) on the vertical is a transparency.
The calligraphy at the top is a beautiful rubber stamp from Quietfire Design. Suzanne makes it easy to create with beautiful things. I thought turkey red stitching would go well with this "period" piece so zig-zagged a casual border around the edge. I was really free-wheeling this whole project - just playing and having fun. 
I highlighted Dee by cutting out a circle and rubbing red oil pastel around the rim on the underside. 
I am not going to say how long ago this photo was taken, but these shoes might provide a hint!
I stamped this quotation on the vellum and used pinking shears to cut it out. Then I coloured staples with a red Sharpie and used them to affix it to a popped up white panel on the inside of the card. And that's a wrap!